How to Flush a Water Heater?
Are you experiencing lukewarm showers or noticing rusty water flowing from your taps? It might be time for a little TLC for your water heater. Flushing your water heater is a crucial maintenance task that can significantly extend its lifespan and ensure optimal performance. In this comprehensive guide brought to you by 24/7 Local Plumbers, we'll walk you through the step-by-step process of flushing your water heater like a pro.
Understanding the Importance of Flushing Your Water Heater
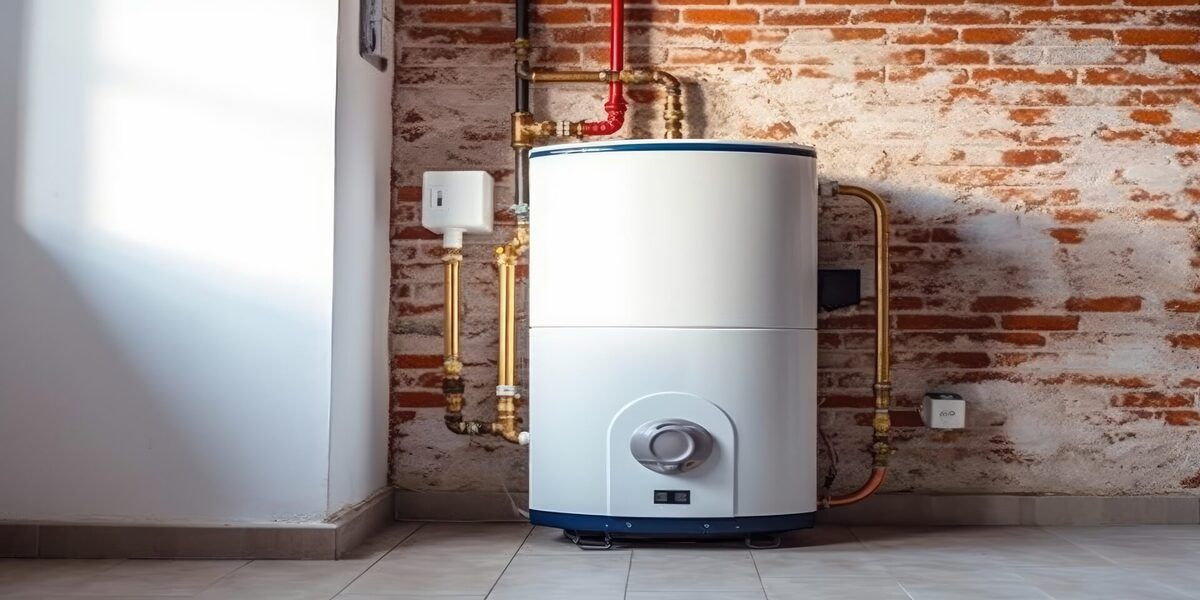
Before diving into the nitty-gritty of the flushing process, let's take a moment to understand why it's essential. Over time, sediment, minerals, and other debris accumulate at the bottom of your water heater tank. This buildup not only reduces the efficiency of your heater but can also lead to corrosion and premature failure. Flushing your water heater helps remove these impurities, allowing it to operate more efficiently and last longer.
Preparation: Gathering the Necessary Tools and Materials
Before you begin, gather the following tools and materials:
- Garden hose
- Bucket
- Screwdriver
- Pipe wrench
- Gloves
- Safety goggles
Once you have everything you need, it's time to get started!
Step-by-Step Guide
Step 1: Turn Off the Power
Safety first! Before performing any maintenance on your water heater, it's imperative to cut off the power supply. For electric water heaters, locate your home's electrical panel and switch off the breaker dedicated to the water heater. It's crucial to ensure the breaker is firmly in the "off" position to prevent any accidental reactivation of power. For gas water heaters, find the gas control valve, usually located near the bottom of the unit. Rotate the valve to the "off" position, halting the flow of gas to the burner. Confirm the valve is completely closed to eliminate any risk of gas leakage.
Step 2: Turn Off the Water Supply
With the power safely disconnected, proceed to shut off the water supply to your water heater. Locate the cold water supply valve, typically positioned near the top of the heater on the incoming water line. Rotate the valve clockwise until it stops to halt the flow of water into the tank. This step prevents water from entering the tank during the flushing process, ensuring efficient drainage and minimizing mess.
Step 3: Drain the Tank
Prepare for drainage by attaching a garden hose to the drain valve situated at the bottom of the water heater tank. Ensure the hose is securely fastened to prevent leaks. Position the other end of the hose in a suitable drainage area, such as a floor drain or a bucket, to contain the expelled water. To facilitate faster draining, open the pressure relief valve located on top of the tank. This action allows air to enter the system, breaking the vacuum and promoting smoother water flow during drainage.
Step 4: Flush the Tank
With the drain valve open and the hose securely in place, allow the water heater tank to drain fully. Depending on the sediment accumulation, this process may take some time. To expedite drainage, consider opening the pressure relief valve periodically to release any trapped air. Once the tank is completely drained, close the drain valve tightly to prevent any residual water from escaping.
Step 5: Refill and Flush Again (Optional)
Inspect the drained water for sediment or debris accumulation. If significant buildup is evident, consider performing an additional flush for thorough cleaning. To do so, close the drain valve and remove the hose. Turn on the water supply valve to refill the tank, then repeat the flushing process outlined in Steps 3 and 4. This optional step ensures the removal of stubborn sediment, promoting optimal water heater performance.
Step 6: Restore Power and Water Supply
After completing the flushing process, it's time to restore power and water supply to the water heater. Close the pressure relief valve and disconnect the garden hose from the drain valve. Ensure the drain valve is securely closed to prevent leaks. Turn the water supply valve back on and allow the tank to refill completely. For electric water heaters, return to the electrical panel and switch the breaker to the "on" position. For gas water heaters, locate the gas control valve and rotate it to the desired temperature setting, ensuring it's securely closed. Confirm there are no gas odors present before proceeding.
Step 7: Monitor for Leaks
With power and water restored, conduct a thorough visual inspection of the water heater and its surroundings for any signs of leaks. Pay close attention to connections, valves, and fittings, tightening them as needed to eliminate any potential leakage points. If you detect any leaks that cannot be resolved through simple tightening, or if you're unsure about any aspect of the flushing process, don't hesitate to seek assistance from a qualified plumbing professional.
By following these meticulous steps provided by 24/7 Local Plumbers, you can confidently flush your water heater, ensuring optimal performance and longevity. Regular maintenance, including periodic flushing, is key to preserving the efficiency and reliability of your water heater. For expert plumbing advice and assistance, contact 24/7 Local Plumbers today!
You might also like
Book a Service Today
We will get back to you as soon as possible
Please try again later
Disclaimer: 24/7 Local Plumbing connects users with independent plumbers but does not guarantee service availability, verify licenses, or ensure insurance coverage. For full details, check out 24/7 Local Plumbing disclaimer.
Blog | Contact | Home | Privacy policy | Sitemap

All Rights Reserved | 24/7 Local Plumbers
Support and manage by lead vanguard
Committed to Accessibility: We strive for inclusivity and accessibility for all. Learn more about our accessibility efforts and resources.


